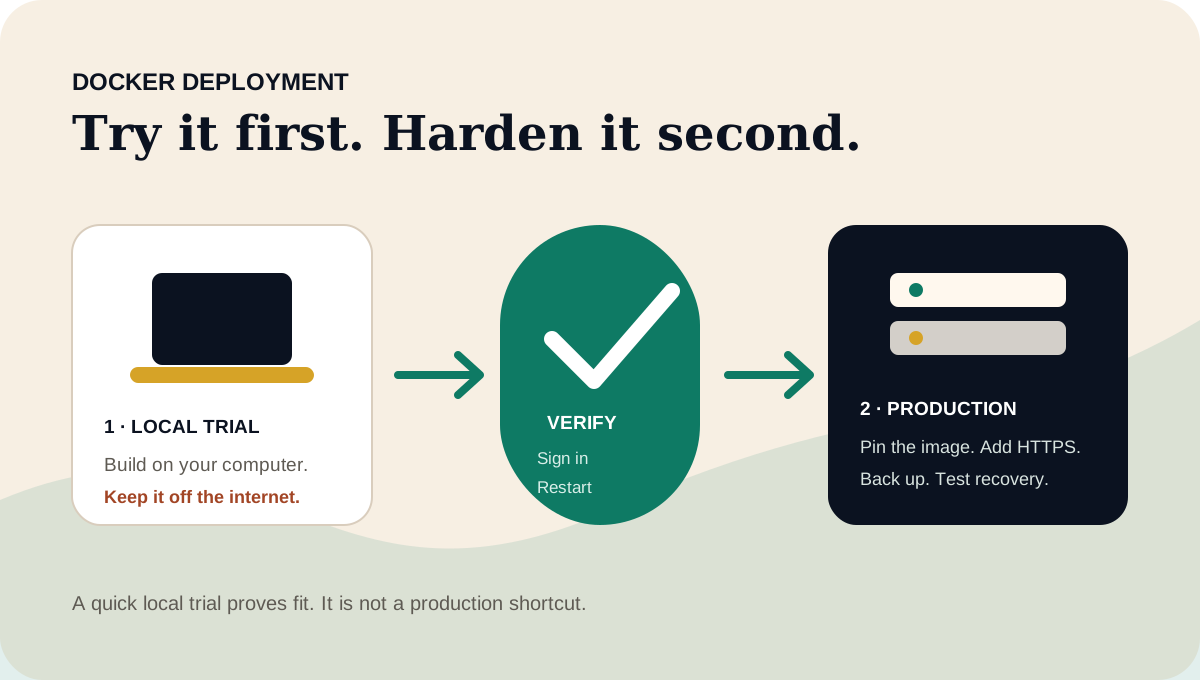
1. Run a local trial
Build the development container and PostgreSQL on your own computer. Do not expose this trial to the public internet.
$ git clone https://github.com/taimoorq/expense_tracker.git
$ cd expense_tracker
$ cp .env.example .env
$ docker compose up --build
Open http://localhost:4287, create an account, and sign in. Restart Docker and confirm that your test budget is still there.
2. Explore the app without entering your finances
The optional command below creates six months you can use to try planning, transactions, reports, and month close.
$ docker compose exec web env \
  SEED_MODE=users_with_transactions \
  bin/rails db:seed
Sign in with demo@example.com and password123!. Never expose or reuse that demo password.
3. Keep or remove the trial
Run docker compose down to stop the trial and keep its database volume.
docker compose down -v removes the Compose volumes and erases the local database. Use it only when you intentionally want to discard the trial.4. Prepare production as a separate deployment
Use the separate production Compose stack with PostgreSQL and Caddy. Copy the template and replace every placeholder.
$ cp .env.production.example .env.productionSet the domain, allowed hosts, database password and URL, Rails master key, and secret key base. Keep .env.production out of version control.
5. Pin the published image
Choose a published version tag so updates happen when you choose them.
EXPENSE_TRACKER_IMAGE=ghcr.io/taimoorq/expense_tracker:v2.1.0Pull and start that exact production image.
$ docker compose --env-file .env.production \
  -f docker-compose.production.yml pull web
$ docker compose --env-file .env.production \
  -f docker-compose.production.yml up -d --no-build
Expose Caddy on ports 80 and 443. Keep Rails and PostgreSQL inside the Compose network. Version 2.1 also starts a dedicated worker for confirmed account activity imports and Backup v2 operations.
6. Check the whole app before relying on it
- Confirm HTTPS and the expected hostname.
- Run
docker compose --env-file .env.production -f docker-compose.production.yml psand confirm thewebandworkerservices are running. - Create or sign in with the intended user account.
- Open Home, Plan, Activity, Accounts, Reports, month close, and Backup.
- Confirm charts, exact values, and transaction details remain usable.
- Restart the stack and confirm the same budget remains.
- Create both a PostgreSQL backup and an application export.
- Test a restore preview and rollback away from the important installation.
7. Finish the upgrade for existing budgets
After backing up, follow the checks in the upgrade guide and complete the switch only when every budget passes. The guide includes the exact commands and rollback path.
8. Plan how you will recover before updating
Back up PostgreSQL and application data, read the release notes, compare environment templates, then pull the new tag without deleting volumes. If verification fails, check migration compatibility before using an older image; restoring the pre-update database is safer than assuming every migration reverses.
Common first-run problems
Port 4287 is already in use
Set another APP_PORT in .env, then restart the local stack.
The web container cannot resolve db
Start the complete Compose stack from the repository directory. The application container expects PostgreSQL at the Compose service hostname.
Localhost works but another device does not
Check the host firewall and LAN isolation. Do not use the development stack as a shortcut for public production.
Production redirects or cookies fail
Confirm the hostname, HTTPS termination, APP_PROTOCOL, ASSUME_SSL, FORCE_SSL, and allowed hosts agree with the way traffic reaches Rails.