Connect with SimpleFIN
Bring in read-only bank balances and transactions, review the evidence, then use the shared planning and reporting workflow.
Choose a Docker path, verify the installation, and build your first budget in a safe order: choose connected or manual accounts, add a useful plan, then review real activity. Recurring setup is optional.
Bring in read-only bank balances and transactions, review the evidence, then use the shared planning and reporting workflow.
Add accounts, record transactions yourself or import statements, review balances, and close the month. No provider subscription is required.
You can mix approaches account by account and connect later. Recurring setup is optional. Your timezone lives in Settings → Workspace.
Budgeting data is personal: account names, balances, imported files, notes, recurring bills, and backup files can reveal a lot about how a household works. Self-hosting lets you decide where that data lives, who can sign in, how backups are stored, and when updates are applied.
The public website does not host user budgets. If you run the app, you operate the server, database, credentials, access controls, backups, HTTPS, and update timing for that installation.
Use this path to try the app privately on your computer. Developers can use the same checkout as a starting point.
$ git clone https://github.com/taimoorq/expense_tracker.git
$ cd expense_tracker
$ cp .env.example .env
$ docker compose up --build
Open the app at http://localhost:4287, create an account, and confirm your budget is still available after restarting Docker.
Use a version tag when you want a repeatable self-hosted install without rebuilding the app image on the server.
EXPENSE_TRACKER_IMAGE=ghcr.io/taimoorq/expense_tracker:v2.1.0
docker compose --env-file .env.production -f docker-compose.production.yml pull web
docker compose --env-file .env.production -f docker-compose.production.yml up -d --no-build
Production starts separate web and worker services from the same image. Confirm both are running before testing an account activity import or Backup v2 operation.
ghcr.io/taimoorq/expense_trackervX.Y.Z and X.Y.Z point to a specific app release.latest tracks the newest release image.sha-<commit> points to the exact workflow commit.The full GitHub README keeps the most detailed server instructions, including production HTTPS, update flow, and environment variables. Start there for server installs: Published Docker Images.
.env.example for new settings you may want to copy into your own environment file.EXPENSE_TRACKER_IMAGE to the release tag you want, such as v2.1.0.web and worker services are running. Then check Home, Plan, Activity, Accounts, Reports, and Backup before exporting a fresh backup.The app notifies you when a new release is ready and shows what changed before you choose to install it.
Do not run the sample-data command during a production update, and do not use latest when you want a predictable production rollout. Pin a version tag instead.
The update keeps existing budgets available while you run checks. Back up first, run the commands below, and switch to the new calculations only after the results match.
docker compose --env-file .env.production -f docker-compose.production.yml exec web bin/rails data_quality:legacy
docker compose --env-file .env.production -f docker-compose.production.yml exec web env APPLY=1 bin/rails target_backfill:all
docker compose --env-file .env.production -f docker-compose.production.yml exec web bin/rails target_shadow_reads:all
docker compose --env-file .env.production -f docker-compose.production.yml exec web bin/rails target_release:rehearse
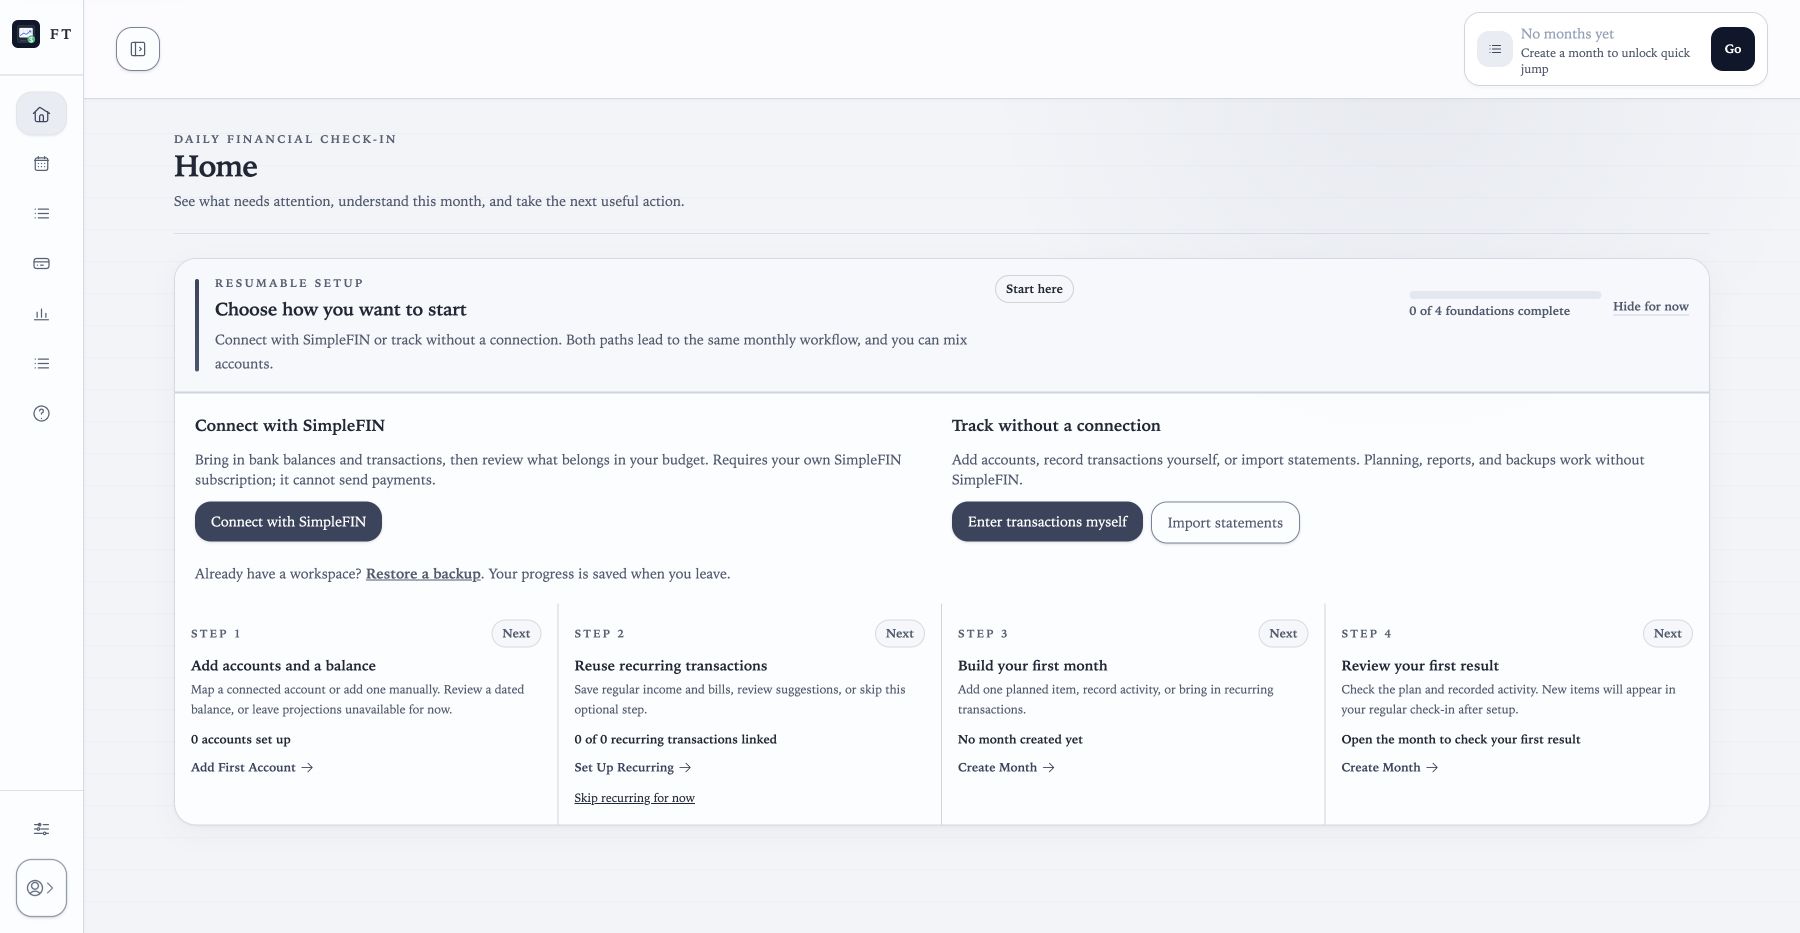
docker compose --env-file .env.production -f docker-compose.production.yml exec web bin/rails target_release:statusHome is the main landing page after sign-in. It shows setup progress, the current month, where your money stands, what needs attention next, recent months, yearly cash flow, and account summaries so you can quickly continue where you left off.
Open items that are still planned and due, missing key details, or marked paid without an actual amount. Each count opens the matching items for review.
Open the month that needs attention, then choose its Budget, Breakdown, Calendar, or Plan and Edit view.
Review card purchases, card payments, money received, completed spending, and planned spending still left to pay. Open any non-zero total to see the transactions behind it.
Home prioritizes the most useful continuation based on the current month state while keeping Plan, Activity, Accounts, and Reports one navigation step away.
Use Accounts & Net Worth for manual checking, savings, brokerage, retirement, cash, asset, and liability balances. You can record point-in-time snapshots, review current and projected balances, and keep account context visible without relying on bank syncing.
Add a balance snapshot whenever you want to give the app a fresh starting balance. Completed and planned transactions linked to that account build from it.
Current balance starts with the latest snapshot and adds completed transactions after that date. Projected balance also includes remaining planned transactions so you can see where the account may end the month.
Home and Reports use linked account details to explain movement over time, including card additions, card payments, deposits, paid outflows, and remaining planned outflows.
Adding accounts early helps balances, payments, imports, backups, and payoff progress stay organized.
Once your accounts are ready, continue to Monthly Workflow for planning, Activity matching, reporting, close, and reopen.